
On Taking Less Stuff
Kit List Strategies for Ultra-Distance Cycling

Learning how little kit is really needed to ride long, took a while. For too long, I clung to what I thought essential like a child to a comforter.
I have never been at the start of a big ride, a long single, or multi-day Ultra, without thinking that people seem to be either taking a great deal more kit than I am, or more often, considerably less.
Some look like they are preparing for a Arctic expedition, preparing to man-haul all the food they need for the whole journey, bulging bags hanging from every available part of the bike.
Others take very little and look enviably light and fast. Confident. I struggle to reach a compromise.
Adapted from my new book, this week is a summary of the things we really need to think about, strategy for choosing what and how much kit to take. This not a kit list., just a strategy for assembling one.
Plus, I have added some thoughts on practicalities, like keeping electrical things charged, a constant concern. If you are planning an Ultra, or just a very long day out, I hope this helps.
Coming late to long distance riding, I read everything, I tried to learn from others and I experimented, sometimes getting things wrong, but knowing better next time.
Key Factors
Assembling the kit, depends on a number of things:
- Whether the ride/race is supported or unsupported?
- Are there Controls along the way and what do they provide?
- How far apart are the controls?
- How far apart are opportunities to re-supply with both food and enough to drink?
- What is the weather forecast?
- What is your strategy?
Rides like London-Edinburgh-London are justifiably famous for their ‘Controls’ which are ideal distances apart, provide hot food, indoor sleeping and even bike repairs. The hospitality is legendary.
Other rides offer no such luxuries, and you have to make your own plans and pack accordingly.
Do a risk assessment:
I started out by taking way too much stuff, lugging it around the countryside and not using most of it.
Standing back from the process of assembling the appropriate kit, the main question for me was around the risks.
The best example I have is something called a ‘boot’, a section of old tyre to insert if you damage your tyre beyond repair. Not a big item, just one of many small items that weight heavy when added up.
My boot came on a lot of rides, until it occurred to me that I have never slashed a tyre to the extent that it will not contain a tube. That does not mean it will never happen, but the risk is small and the boot stays at home now.
Likewise, carrying items including spare spokes, a rear mech hanger, a spare tyre, quick links and a tool for splitting a chain:
I have only ever broken one rear mech hanger in thousands of hours of riding. The rest of this list has never been needed. Pack for peace of mind.
As an aside, I have never needed to fully master the use of a chain splitting tool. In my imagination, tracking up the west coast of The Isle of Skye in the dark, in a howling gale and torrential rain, wet and frozen to my core, and having to repair my chain, with a tool I have rarely used, and quick links that would be far too fiddly for my freezing fingers all means that I leave the chain tool at home.
Mitigate the Risks:
If an item can be bought on route, leave it at home. Likewise, if a repair is needed and this can be done at a bike shop, plan accordingly.
Make a list of local bike shops, adjacent to the route. If the route is a long way from any source of support or rescue, asses the risk and pack accordingly.
Decide on the Strategy:
How much you carry with you also depends on the strategy you want to use.
Some choose to travel very light, buying food on the way, carrying very little, stopping to eat before pressing on, or eating on the move.
This depends on the parcour. Rides through remote places, or deep into the night may require us to pack enough to sustain us for long periods. Carrying enough to drink can be challenging.
What you take also depends on your sleeping plans.
I have combined sleeping outdoors with Bed and Breakfast stops. This means, carrying lots of sleep kit that is only used on a few nights. In future, I will need to commit to one strategy and perhaps as experience grows, this will be easier.
Carrying What you Need:
Depending on the length of the ride/event, I have several on-bike-bag options.
Most of the large items, like the sleep kit and spare clothes, go in the ‘torpedo’ saddle bag.
Other bags from Restrap, include a small bag that sits above my top tube where I charge my power banks. I may also keep a few energy bars here to access quickly.
I have an under top-tube bag (3 litre capacity) that is used for food on one side and tools and spares in the other. Below that, I have two bottle cages. I have lugs on the bike to add more bottles if needed.
A Restrap Race Aero Bar Bag is hung on my tri-bars. This is a clever holster design where the bag clips into a device that stays attached to the bike. The bag simply slides in and out and is useful for stuff I need to access often.
Keeping the Lights On:
Making sure all devices, lights, phone, navigation, are charged enough is something I found to be a cause of some anxiety and on occasion meant I lost time too.
My electrical devices are charged by a Son Delux 12 6v Dynamo on my bike, used to trickle charge power banks. This routes via a Sinewave box that transforms the current into one that can be used by the power banks. I then use these to charge what needs charging the most.
I take Charger cables for iPhone/lights/garmin (plus spares, just in case) and two Power Banks (2 x 15 mAh)
To conserve power, all notifications, Bluetooth and wireless functions on my phone and Garmin and my power metre are all set to off.
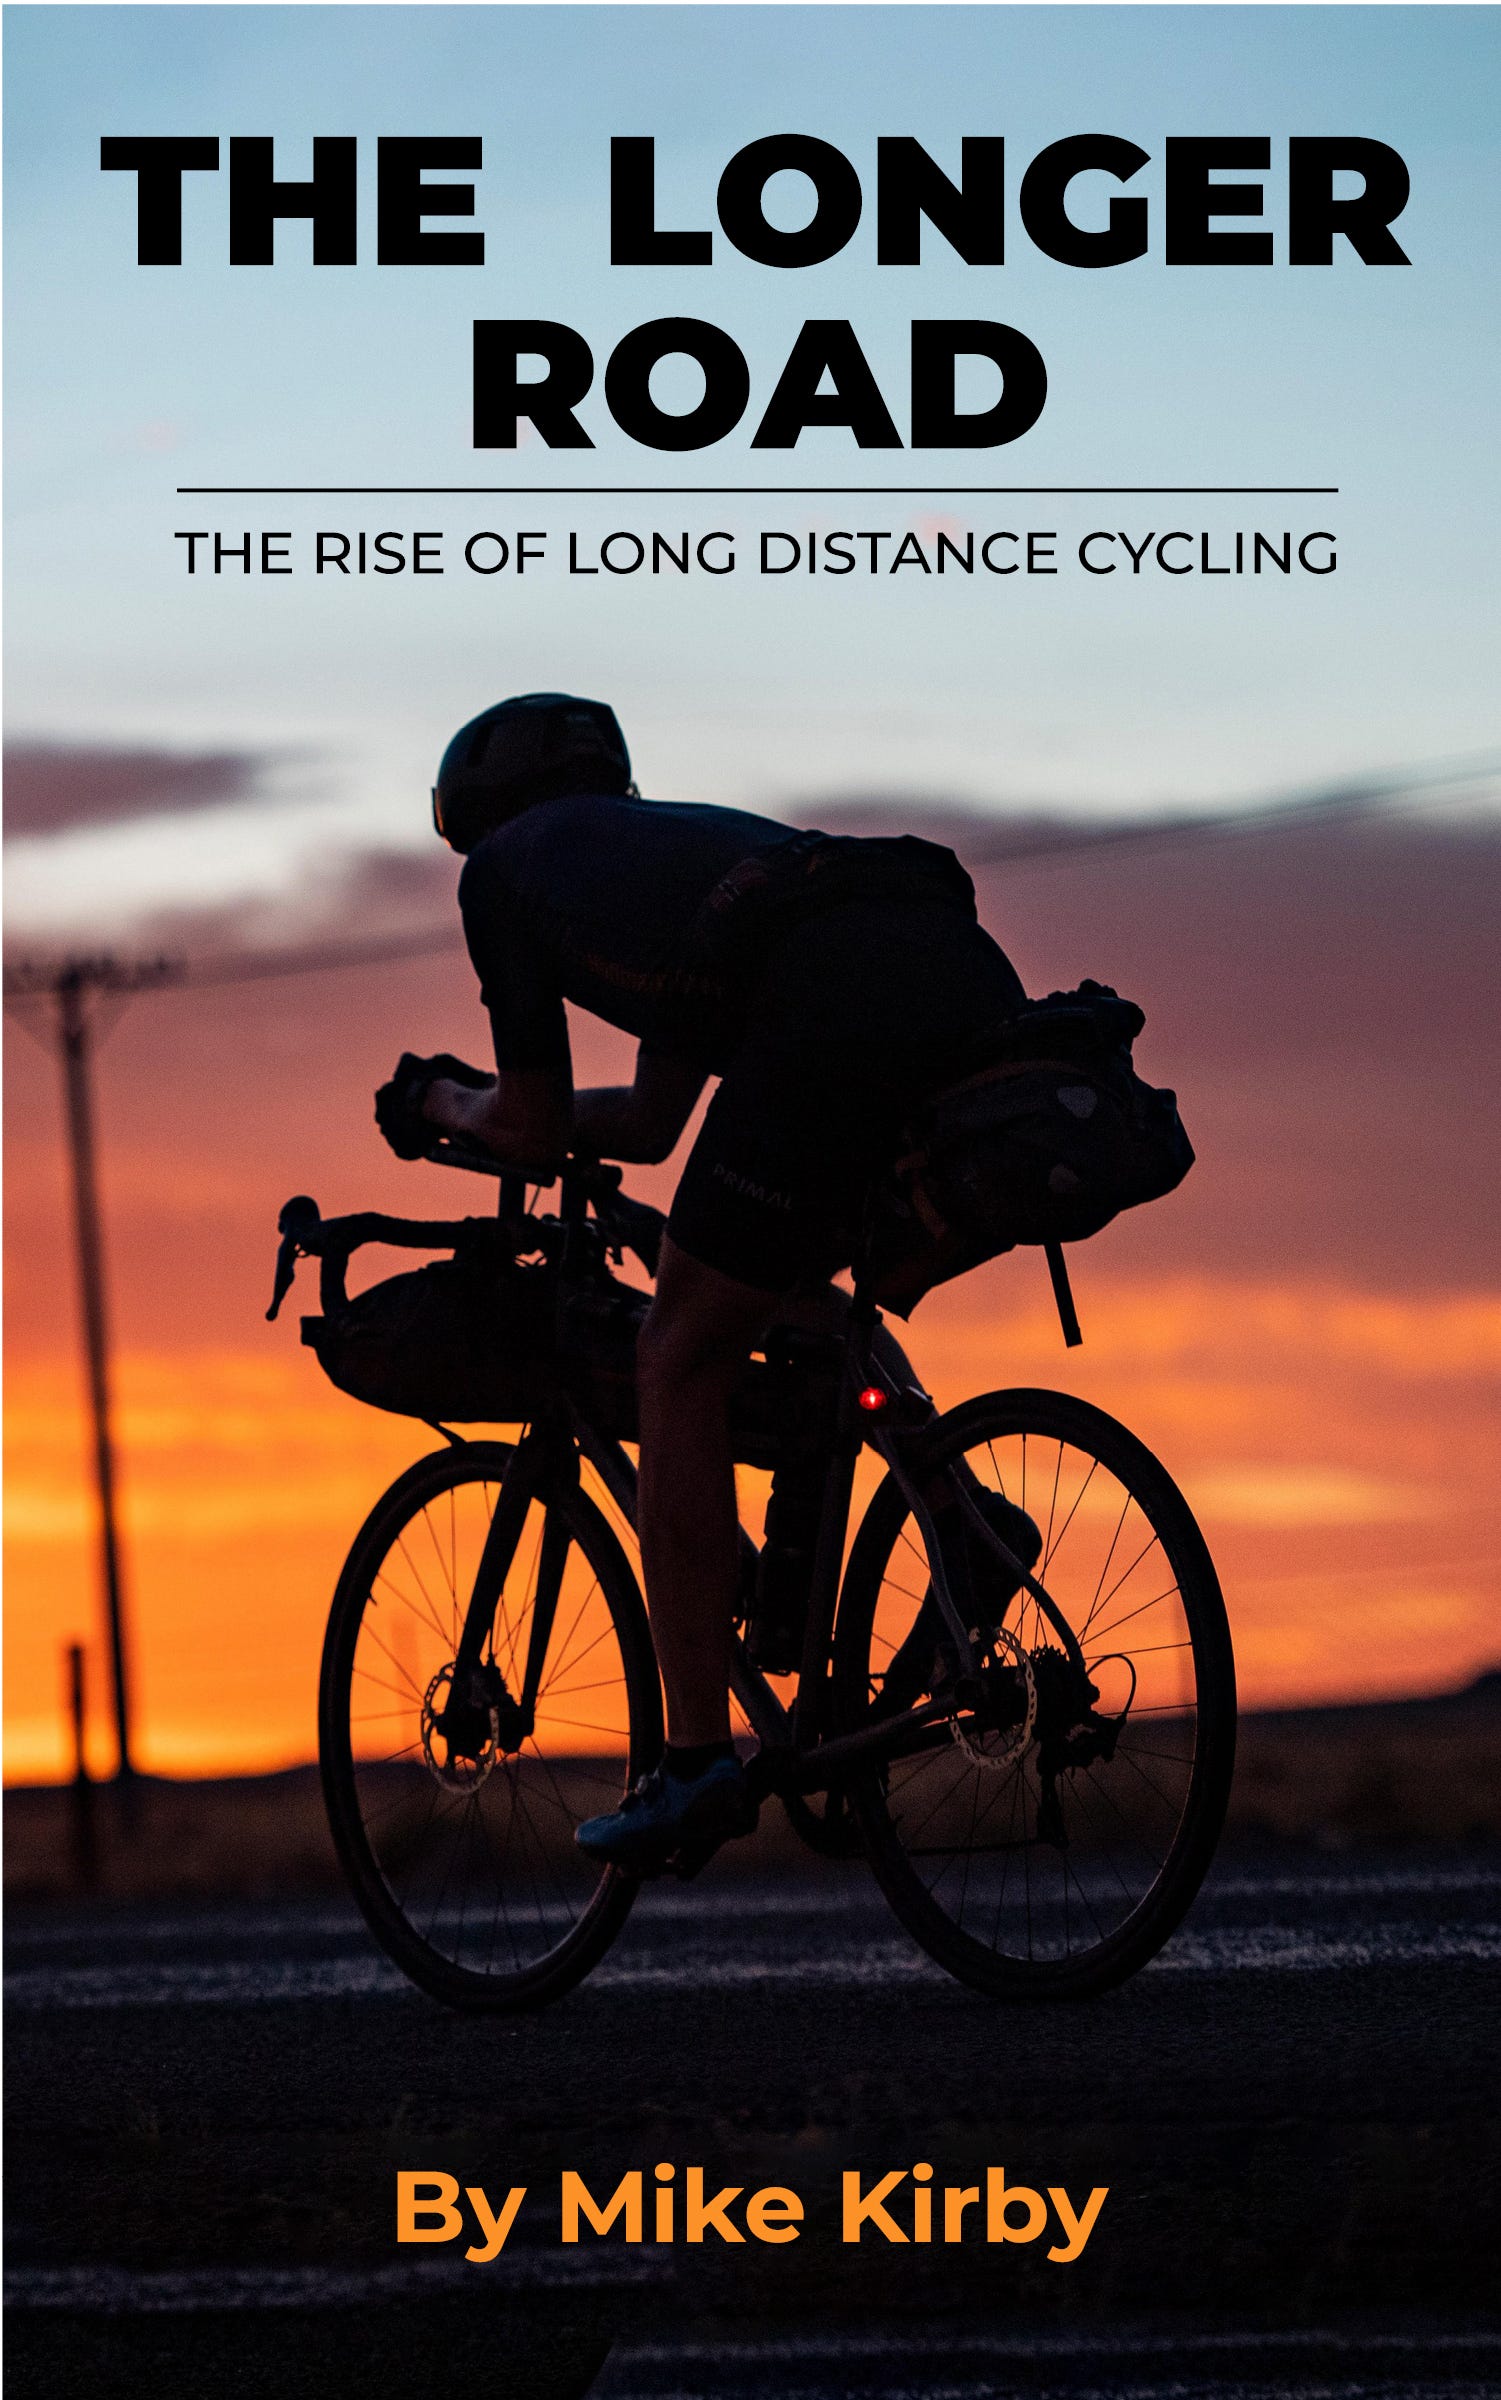
A complete and comprehensive kit list, from electrolyte tabs to zip-ties can be found in my book, The Longer Road, which also contains some thoughts on long ride nutrition and some of the training I have done for my rides and races.
Here is a link: The Longer Road
I have also added my detailed and complete kit list to my portfolio of Blueprints on Gumroad.
Here is a link: On Taking Less Stuff
Everyone has ideas on what to take and I emphasise that it is all about personal preference, trial and error and strategy. I would love comments on special pieces of kit that people take with them on their own rides. Please leave comments in the section below and I will share the best ones.
Have a great weekend, Ride happy, ride long.
Mike.
As a fella once told me 'we carry our insecurities'. I cycled from Banff, Canada to Mexico and only used a 5mm Allen key to adjust my aerobars on one occasion. No punctures so did not need my spare tube. Last year I went through three tubes about 8 miles into a three day tour!
Hi Mike, I am not into ultra distance cycling but out here in the wilds of Thailand where my family live, it is essential to be able to get yourself home, whatever happens. I must confess that there has been a time when it was impossible - a puncture with no workable glue or self adhesive repair patches _ it seems these things all deteriorate in the heat so now I carry the very best I can buy and multiples. I saw your comment about a chain tool and I have religiously carried one, a substantial one as I found the cheap lightweight versions could not do the job - although never used in anger. For some time I had been hankering after a Topeak Power Lever Pro which is combined tyre levers, quick link breaker, chain breaker tool - very compact and very light. I finally managed to buy one on line from UK and in my first week of having it, I had my chain break twice on the same ride (suspect it had got wet/internally rusty and I didn't notice in my hurry to go for a ride - it rains a lot here). The Power Lever Pro was absolutely essential and worked like a charm and now goes everywhere with me replacing three tools - thoroughly recommended. I fitted a new chain when I got home - didn't want all that trouble again.